Module Four
GUT/BRAIN CONNECTION AND FERMENTATION
The body’s nervous system is complex and involves multiple bodily systems, including the HPA (Hypothalamic Pituitary axis) which is the body’s main stress response system.
There are a wealth of macronutrients (protein, fats & carbohydrates), vitamins, minerals, herbs & adaptogens that play a key role in supporting nervous system function and ensuring our brain chemical messengers are being produced and listened to as they should. Becoming aware of the foundation of these nutrients I believe can really help to support you more in your food choices, supplementation choices and lifestyle choices.
Here are some of the key things/ ingredients I feel can be useful to know about and have on hand, so you can reach for them when needed.
However, please remember, it’s important to remember that every body is different and has different needs, what might work for one person, may well not for another. If you are struggling with your health or in need of proper advice and guidance I would always suggest speaking to a medical professional and looking into testing. I have always found Naturedoc to be incredible in this area with extensive testing on offer.
macronutrients

Protein helps to stabilise blood sugar and mood. It provides the building blocks in the form of amino acids needed to create neurotransmitters (our brain chemical messengers)
Healthy fats such as Omega 3, found in oily fish and eggs have anti-inflammatory benefits. Grass fed butter is rich in butyrate, a short chain fatty acid which provides a key food source for colon cells and supports the diversity of bacteria in our gut, necessary for producing the all-important neurotransmitters.


Complex carbohydrates provide a source of fibre to provide fuel to our gut bacteria, and also help to keep blood sugar levels and mood balanced by prompting our brain to produce the feel-good hormone, serotonin. Sources of complex carbohydrates include wholegrains such as brown basmati rice and starchy carbohydrates such as sweet potatoes.
Herbs
Green Tea – contains calming yet non sedative amino acid L Theanine which promotes production of GABA, the calming neurotransmitter, as well as B vitamins and Vitamin C. Green Tea may be a useful replacement for black tea and coffee which, as well as caffeine, contain Theophylline & theobromine which may cause nervousness, anxiety and tachycardia (increased heart rate).
Lemon Balm – relieves nervousness, mild sedative effect, improves sleep and reduces restlessness and overexcitability. Also used as a mild antidepressant. Can be taken as a tea, tincture or capsules.
Saffron – often nicknamed the ‘sunshine’ spice, it can be helpful in treating mild to moderate depression as well as the physical, emotional and psychological symptoms of PMS (premenstrual syndrome).
Lavender – contains antidepressant, carminative and nervine properties. Dried flowers can be used in recipes, steeped in hot water as a tea, as a tincture or an essential oil in a bath (with carrier oil) or diffuser.
Chamomile – contains carminative, sedative & muscle relaxing properties. Can help to reduce tension and induce sleep. Often used alongside Passionflower.
Passionflower – contains sedative, nervine, antispasmodic and anxiolytic properties. Used for insomnia, anxiety and nerve related palpitations. Can be taken as a dried herb, tea, tincture or fluid extract and blended with other nervine herbs.
Vitamins
B vitamins (salmon, leafy greens, eggs, wholegrains) are depleted by the role of stress on the body and are key nutrients for energy and nervous system function.
Vitamin C is depleted by overworked adrenal glands (the glands that secrete our stress hormones such as adrenaline). Ensure plenty of citrus fruits and leafy greens.
Vitamin D (found in small amounts in oily fish, eggs & mushrooms but you may need to supplement, particularly in the winter months) is important to help stabilise mood.
Minerals
Magnesium - It helps to ensure your nerves work properly and keeps blood sugar and blood pressure at the right levels.
Adaptogens (we go into this in depth later in the course)
Adaptogens are herbs and mushrooms that help the body respond as it needs to
Adaptogenic herbs – licorice, ginseng, rhodiola, ashwaganda
Adaptogenic mushrooms may help to reduce the impact of stress on the body and help to downregulate the nervous system. They increase the body’s resistance to physical, biological & chemical stress and help normal functioning of the nervous system. Adaptogenic mushrooms include Reishi, Cordyceps, Lion’s Mane,
The Gut / Brain Axis
Supporting the microbiome / gut brain axis with a wide variety of different coloured vegetables and fibre particularly pre and probiotics foods helps create a healthy gut / brain axis and productions of neurotransmitters. These foods include oats, asparagus, garlic, onions, chicory) and fermented foods, such as sauerkraut, pickles, kombucha, kefir and kimchi (see Gut Support section).
Neurotransmitters
The nervous system controls the body’s organs and plays a role in nearly all the bodily functions.
Neurotransmitters are chemical messengers in the body. Their role is to transmit signals from nerve cells to target cells. Neurotransmitters form an important part of the nervous system.
Neurotransmitters regulate many necessary functions such as sleep cycles, digestion, mood, concentration and appetite.
They include, serotonin, melatonin, GABA, dopamine, endorphins, acetylcholine, epinephrine
GABA is the main inhibitory neurotransmitter in the brain, creating a sense of calm and reducing the impact of anxiety and psychological stress. Foods containing Glutamic Acid help to promote production of GABA, these include tofu, tempeh, fermented yogurt & kefir, citrus fruits, walnuts & almonds, spinach, broccoli, sweet potatoes, lentil, beans, brown rice, shrimps & halibut. Also certain probiotic strains, Lactobacillus & Bifidobacterium, are able to produce GABA.
Serotonin is the neurotransmitter involved in many processes from regulating mood, promoting positive feelings, regulating sleep cycles, supporting learning and memory to promoting digestion. Whilst it is not possible to increase levels of serotonin directly through, by eating foods rich in the amino acid tryptophan this is then converted to serotonin in the brain if eaten alongside carbohydrates to aid the conversion. Foods rich in tryptophan include turkey, oats, cottage cheese and peanut butter. Spending time outside is also key to supporting serotonin levels (at least 10 to 15 minutes, ideally in the first part of the day.
Research also suggests that getting more probiotics in the diet from a variety of fermented foods may also help to increase tryptophan in your blood, helping it to reach the brain and be converted to ‘happy hormone’ serotonin.
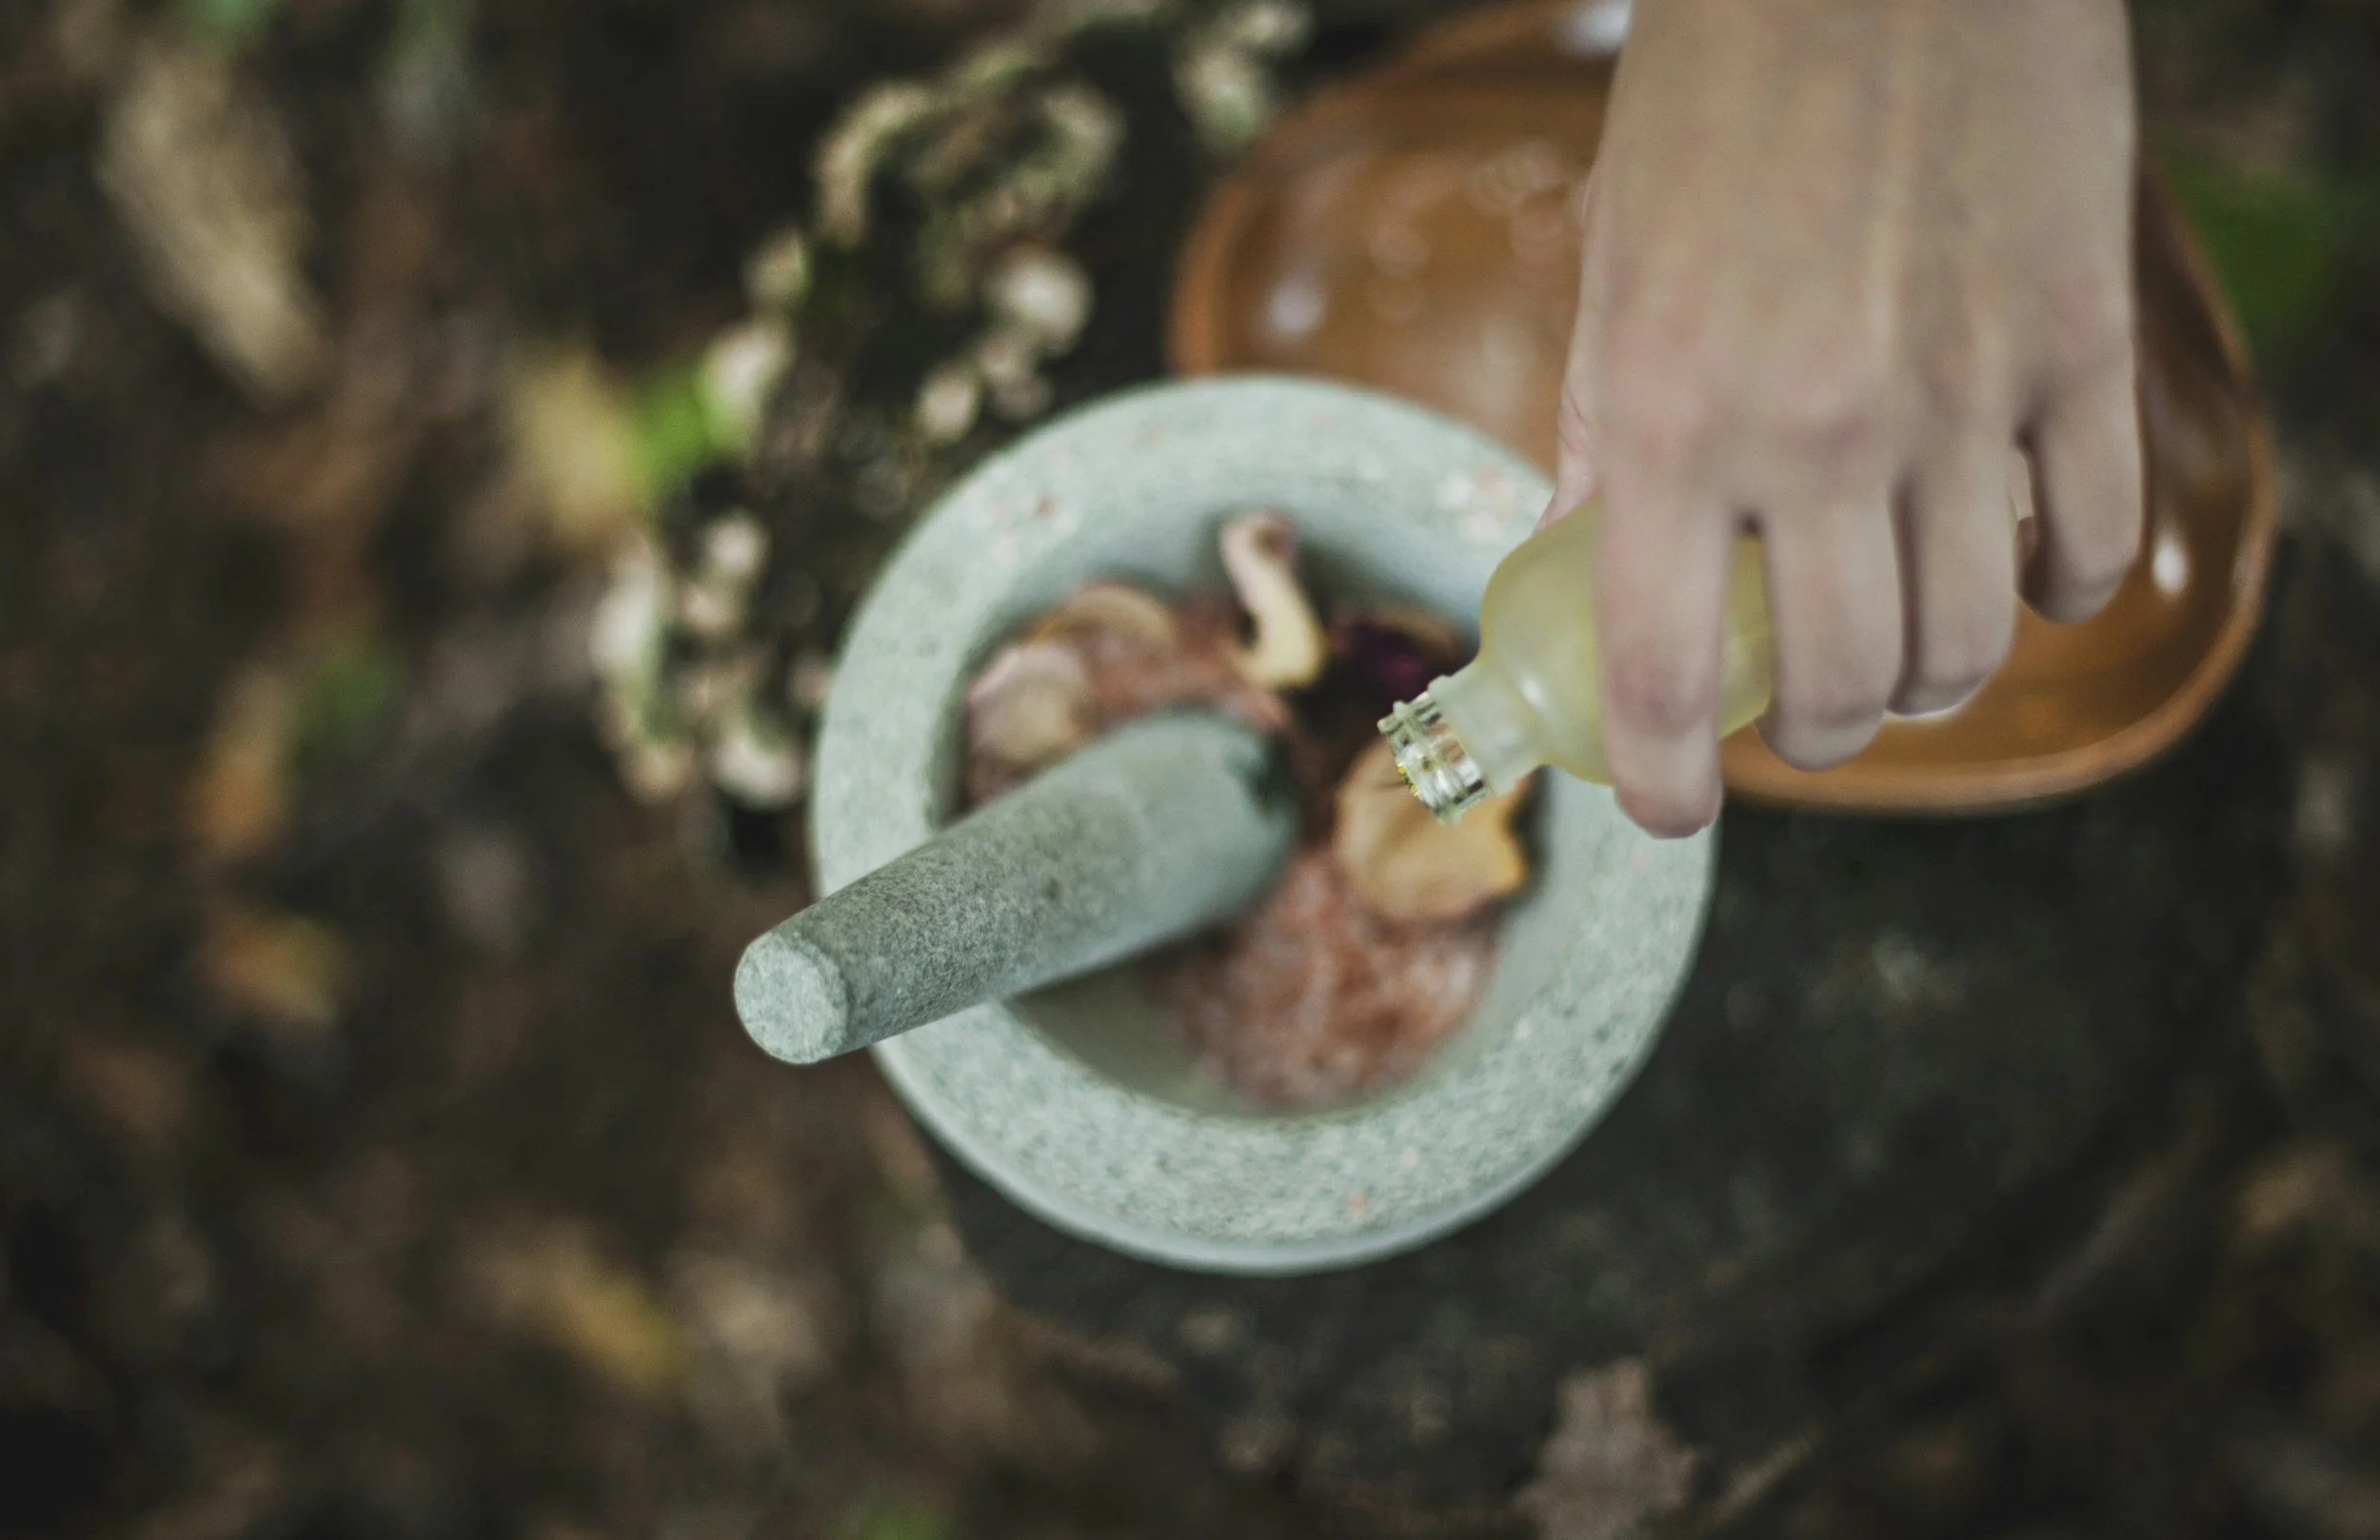
fermentation
fermentation

““One great practical benefit of fermentation is that it can preserve food. Fermentation organisms produce alcohol, lactic acid and acetic acid, which are all “bio-preservatives” that retain nutrients while preventing spoilage and growth of pathogenic organisms” - taken from “”
LACTO FERMENTING
For lacto-fermentation you use salted water/ brine which is added to your veg but only wash your veg in spring or filtered water. You can get experimental and also add your whey from your kefir to your veg to help ferment it too.
For fermenting veg etc you usually leave for a minimum of 3 days. Burp your jars every day or so, else gases build up otherwise.
Lacto-pickled carrots and cauliflower with garlic
These recipes are taken from Amber Rose during a course on fermenting I did with her – I have changed the recipe slightly by making it so you can use a jam jar. She has written wonderful books on the art of wholesome living and food - I cant recommend her highly enough.
Ingredients:
▪ 1 garlic cloves, peeled and slightly crushed, but still intact
▪ 1 cups cauliflower florets, rinsed in cold water
▪ 1 or 2 large carrots, peeled and cut into bite size pieces
▪ 1/2 teaspoon of peppercorns
▪ 1 fresh bay leaf
▪ 1/2 teaspoon of coriander seeds
▪ Good quality sea salt
▪ filtered or spring water
Instructions:
1. Place the crushed garlic in the bottom of a clean jam jar. Follow with layers of cauliflower and carrots, making sure there is an even mixture of both inside the jar. Sprinkle over the spices, tucking the bay leaf down the side of the jar.
2. Dissolve sea salt in water (refer to salt/ water ratios given). Fill up the remaining space in the jar with the salt solution. Release any air bubbles trapped along the sides of the jar.
3. Make sure all the vegetables are weighed down and under the brine (this in important)
4. Cover each jar with a tight, airlock lid.
5. Culture at room temperature (60-70°F is preferred) until desired flavour and texture are achieved. The timing of this depends on the level of sourness you like. Fermenting to reach your desired flavour can take anything from 3 to 7 days or longer but go on your judgement and smell.
6. If using a tight lid, burp daily to release excess pressure.
7. Once the vegetables are finished, put a tight lid on the jar and move to cold storage. The flavour will continue to develop.
8. I usually leave mine out for 3 days, burping every day and then move them into the fridge for storage
FERMENTED VEGETABLES - SAUERKRAUT
Sauerkraut is made by a process called lacto-fermentation. Simply - there is beneficial bacteria present on the surface of the cabbage and, in fact, all fruits and vegetables. Lactobacillus is one of those bacteria, which is the same bacteria found in yogurt and many other cultured products. When submerged in a brine, the bacteria begin to convert sugars in the cabbage into lactic acid; this is a natural preservative that inhibits the growth of harmful bacteria.
It’s important that the cabbage remain submerged in its liquid during fermentation. When fermenting in a mason jar, inserting a smaller jelly jar filled with rocks or marbles in the mouth of the larger jar serves as a way of keeping the cabbage submerged.
The cabbage near the surface tends to float, so when fermenting in a mason jar, you need to either push down the cabbage a few times a day or place a large outer leaf of cabbage over the surface of the shredded cabbage to hold it down. Keep the lid on the jar and burp it daily. I usually leave it out for approx. 3 days, taste and then pop it in the fridge.
What Can Go Wrong?
Not much! You may see bubbles, foam, or white scum on the surface of the sauerkraut, but these are all signs of normal, healthy fermentation. The white scum can be skimmed off as you see it or before refrigerating the sauerkraut. If you get a very active fermentation or if your mason jar is very full, the brine can sometimes bubble up over the top of the jar. This is part of the reason why I recommend using a larger mason jar than is really necessary to hold the cabbage. If you do get a bubble-up, it’s nothing to worry about — just place a plate below the jar to catch the drips and make sure the cabbage continues to be covered by the brine.
It is possible you might find mold growing on the surface of the sauerkraut, but don’t panic! Mold typically forms only when the cabbage isn’t fully submerged or if it’s too hot in your kitchen. The sauerkraut is still fine (it’s still preserved by the lactic acid) — you can scoop off the mold and proceed with fermentation. This said, it’s still important to use your best judgement when fermenting. If something smells or tastes moldy or unappetizing, trust your senses and toss the batch. thekitchn.com
Basic Red Cabbage Kraut
Simply just cabbage, salt and a jar - although it’s fun to experiment with different flavours - caraway or fennel seeds can be lovely with cabbage. As can fresh gingers, chillis etc.
½ cabbage
Aromatics like fennel, carraway
Good quality maldon salt
Remember that once you have your kraut in it’s jar either weighted down or sealed with a cabbage leaf to help submerge the kraut you need to keep burping the jar every day to help remove excess gases building up. After approx 3 days I would give it a taste and see how its getting on. If you are happy with it, then pop it in the fridge where it can store for months.
How much salt?
The trick to perfecting your fermented vegetables is to be precise with the salt and water ratio. You will find there is a lot of trial and error involved to obtain your preferred taste, as it is a fine balance.
Salt is a critical ingredient and when used in the right proportions, creates the perfect environment to control the growth of microorganisms and create a ' happier' ferment. Salt in fermentation encourages the growth of healthy bacteria, while at the same time kills off bad bacteria. We need to be precise when measuring the salt and water, especially when fermenting vegetables that will be submerged in brine.
Too much salt may kill off all the bacteria, thus preventing fermentation.
Too little salt will allow bad bacteria to keep on living. Again, it is a fine balance.
One rule of thumb is to use 1-3 tablespoons salt per litre (4 cups) of water. The easiest way to calculate the exact amount of salt needed is this simple metric calculation:
To create 3% brine in 1000 millilitres (1 litre) of water: 1000 x .03 = 30. So, it takes 30 grams (equal to 2.5 tablespoons of salt).
Many experienced fermenters suggest different amounts of salt be used, this is something you will become familiar with as you trial and taste various measurements. Suggestions range between 1.5%-5%, depending on the vegetable, for example:
Firm vegetables, such as broccoli, cauliflower, garlic, asparagus, beets and carrots and tomatoes require 1.5% to 3% brine, or 15 to 30 grams of salt for each litre of water.
Cucumbers, onions and radishes require 5% brine (50 grams per litre), and olives require 10% brine (100 grams per litre), for example.
Many recipes will tell you the brine percentage needed for that vegetable, but again, it is trial and error. The weight of the vegetables and size of the jar (for the amount of water) are also variables you may need to consider when calculating the amount of salt needed, as well as the most suitable method for the particular vegetable.
(this information was taken from cordonblue.edu)
Safety first
ONE MAIN AREA TO FOCUS ON – for all fermentation is practising good hygiene practises. Make sure all the equipment used is well cleaned or sterilized, hands are clean, surfaces clean, vegetables well prepped - this is covered in more detail below
The most important thing, whichever recipe you go with, is that your jars need to be properly sterilised. You can run them through the hottest setting of your dishwasher, but some domestic washers don’t wash at a high enough temperature, so if you want to be really sure your jars are sterilised, steam them or wash well and dry them in an oven at 150C.
Jarring
The only extra kit you really need, other than ingredients or what you already have in your kitchen, are glass or ceramic jars – never plastic or metal. You can reuse and sterilise old jars, but if you can also buying them new. We prefer the straight-sided screw-top style over the classic Kilner style because, when you are fermenting, you need to release the natural gases that build up and a Kilner jar traps it in too tightly. Or just reused jam jars are good too.
Storage
Store ferments in a cool, dark place such as a pantry, utility room or on a shelf out of direct sunlight – a constant temp is recommended. Fermented foods can last in the fridge for months if stored properly, but it's generally recommended to eat them within 3–4 weeks after opening.
Burping
Because of the gas produced by the good bacteria, it’s a good idea to burp the jars every few days so that they don’t run the risk of exploding.
How to sterilise your jars
You can buy special preserving jars, but you may have glass jars knocking around and reusing them is a great way of cutting down on waste. You’ll need wide-mouth jars (such as old pickle jars) to pack in all the ingredients, and it’s really important to sterilise your jars to avoid the growth of the wrong sort of bacteria, which could make you ill.
To sterilise them, heat oven to 180C/160C fan/gas 4.
Wash the jars and lids thoroughly in warm soapy water, then leave to dry on the draining rack, drying the lids with a clean tea towel.
Put the jars on a shelf in the oven for 15 mins, then remove with oven gloves.
Once cool, they are ready to use.
How do I know when the ferment is ready?
Trust your gut – taste as you go and you’ll soon figure out how far you want to take a ferment. It should be pleasantly sour and not smell bad. If you’ve decided that it’s tasting funky enough for you after a few days, just put it in the fridge – this will halt the fermentation. Keep an eye (and nose) on your ferments, and also watch out for any mould. If you see or smell a ferment starting to go bad, or if it tastes unpleasant, don’t take any risks – just discard it.
(this information is taken from goodfood.com and cordon blue education and I have always found Happy Kombucha a wonderful source for all things fermentation